We will send you an email to reset your password.


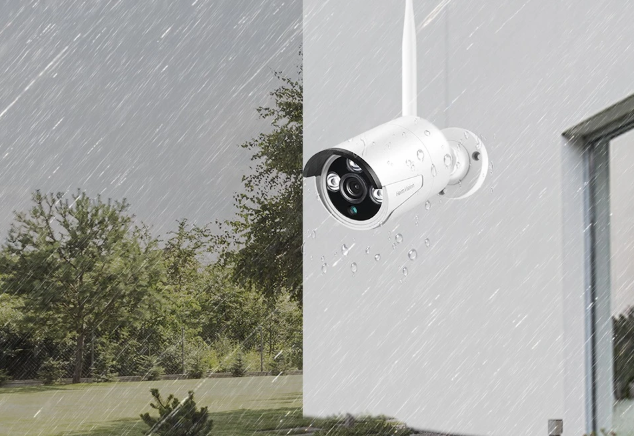
Installing a home security system allows you to protect your property and family. When it comes to the ideal setup, you need to get a security camera that can provide high-definition videos to effectively capture all the important details.
These products always come with two types - wired and wireless outdoor security cameras. Both options are reliable which the features cater to specific needs. If you are unsure which one suits you better, this article will explain the process of the installation for both variants to help you make decisions.
How To Install A Wired Outdoor Security Camera
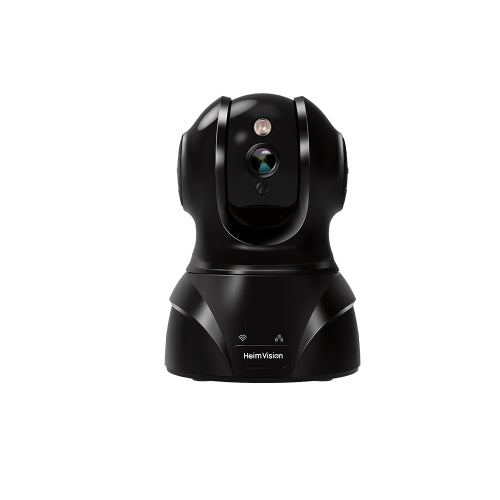
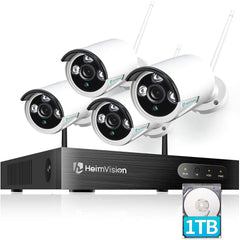
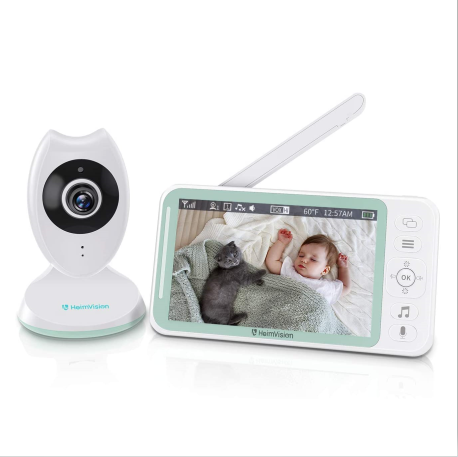
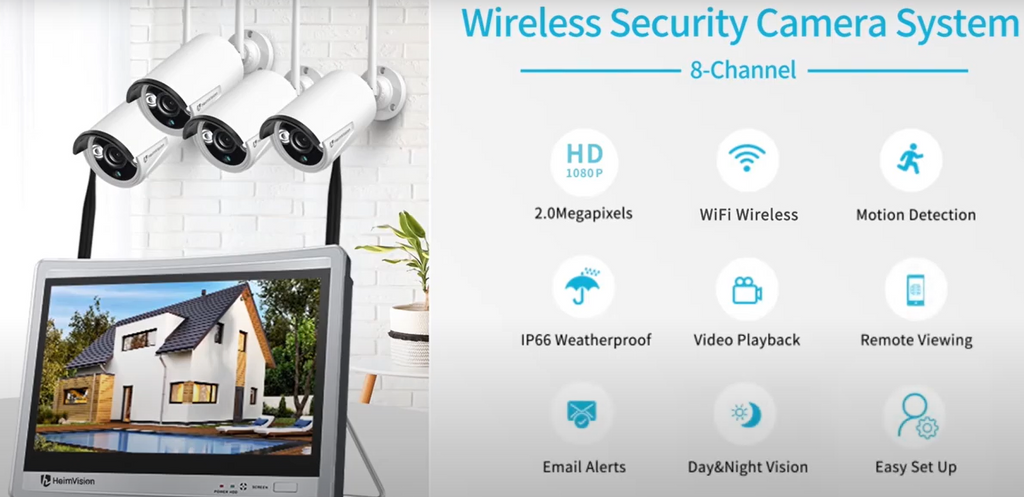
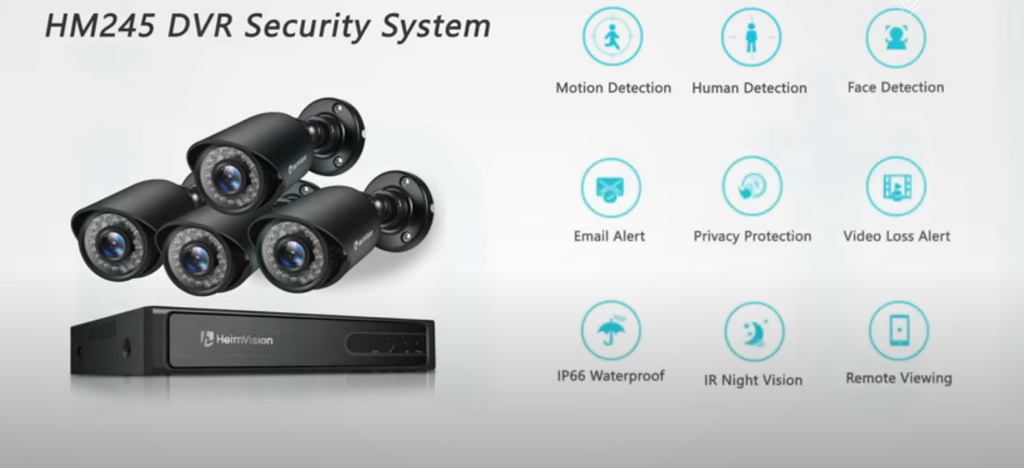
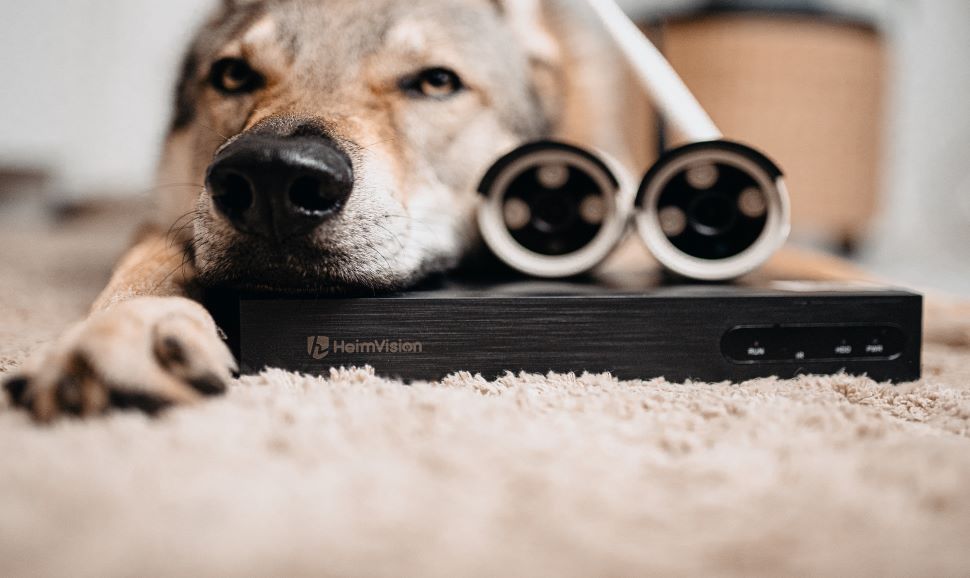
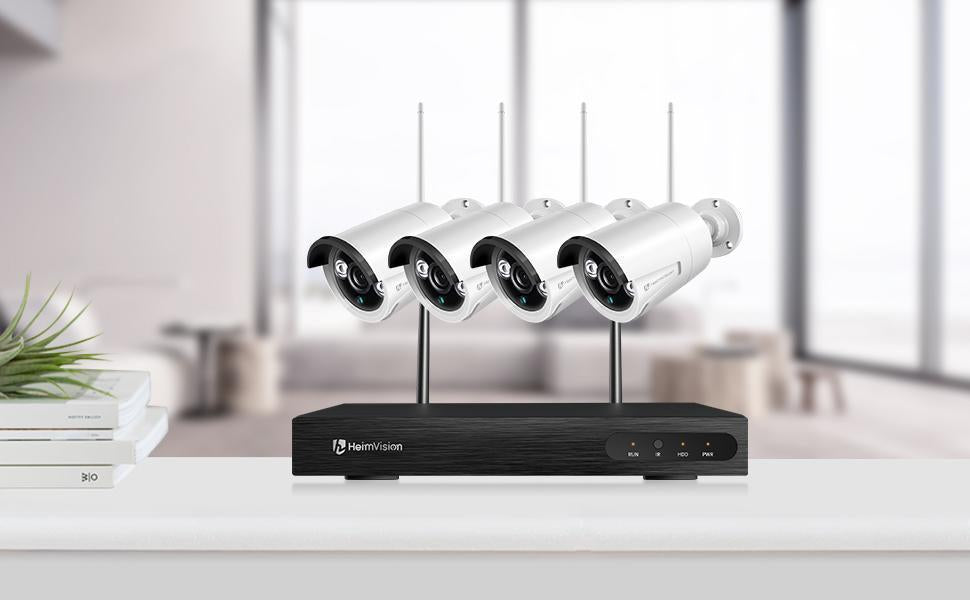
Wired outdoor security cameras are more traditional, primarily used to monitor large properties. They require the proper installation of cables for internet connection, power, and video transmission. To discuss the installation of wired security cameras, we are going to use HeimVision HM311 model as a reference.

Step #1: Test the Components
After unpacking the contents of your security system kit, it would be a good idea to test each component first to make sure everything is working properly. You might encounter problems in the future if you don't conduct testing before the installation.
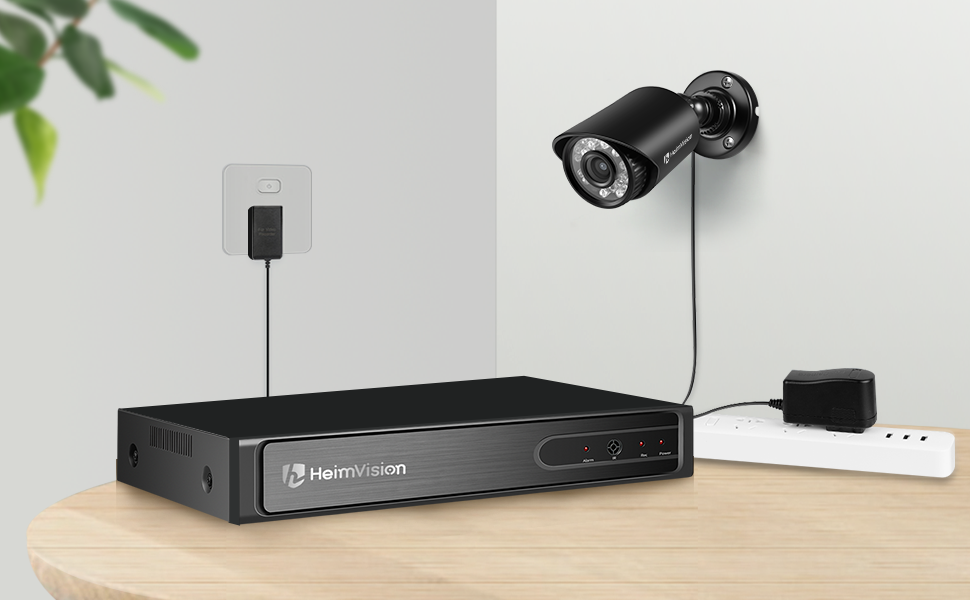
- Start by plugging your DVR into the power supply. If you are using more than one DVR card instead of a standalone DVR, install them in the corresponding slots on your CPU.
- Find the pigtail with RCA and BNC connectors that match the camera ports. Connect the pigtail to the seamless cable and then plug the other end into the DVR.
- Turn on the DVR and check the monitor if it presents any images.
Repeat the above process for the remaining cameras if you plan to install multiple sets.
Step #2: Install the Cameras
Once you've confirmed that all the components are working, you can then start the installation process. The mounts that come with the set allow you to easily fasten your device to ceilings, walls, along with other necessary components.
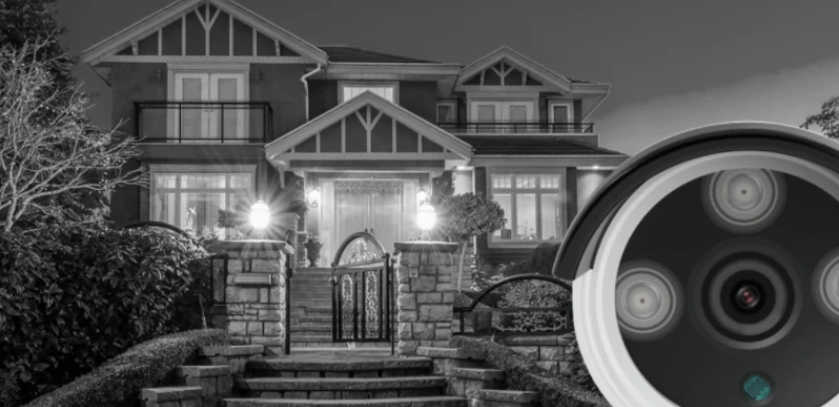
Simply mount the camera in place, connect the pigtail, and feed the cable through your house. Here are some areas that homeowners usually monitor with their security systems:
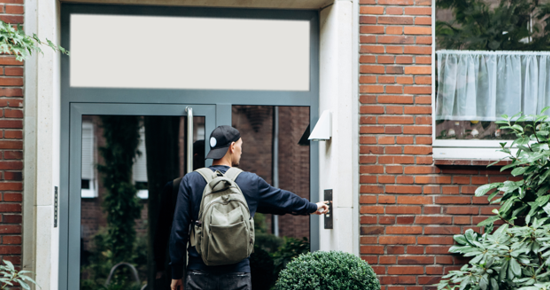
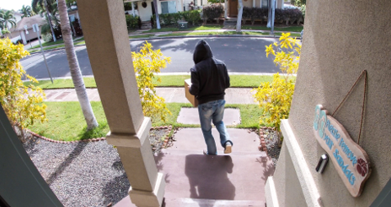
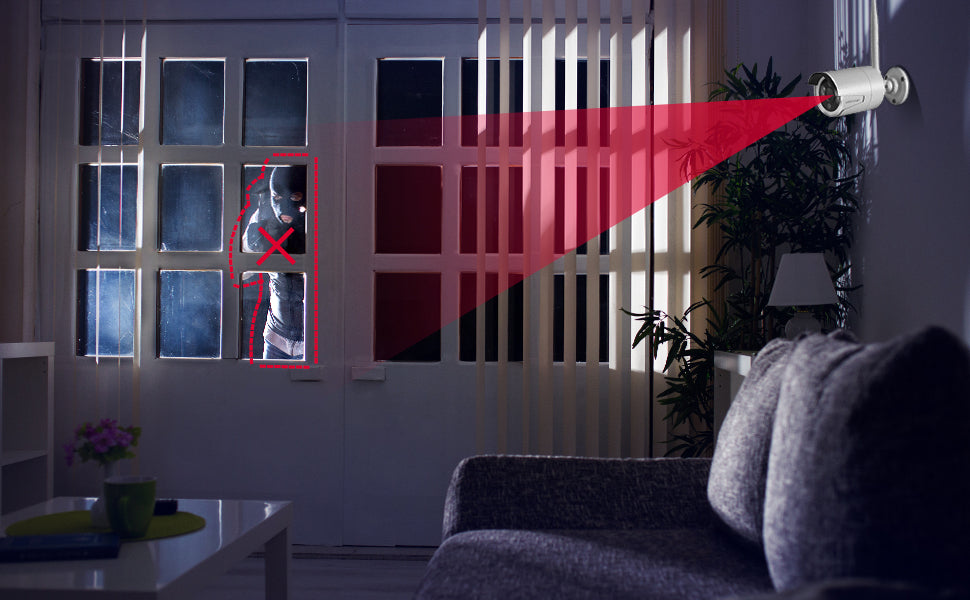
- Entry points around your home that are not visible from the street, such as the back door
- The porch where you can easily identify individuals approaching your property
- Outdoor pool areas where you can observe family and guests when playing near the water
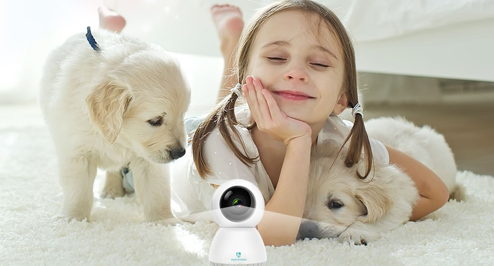
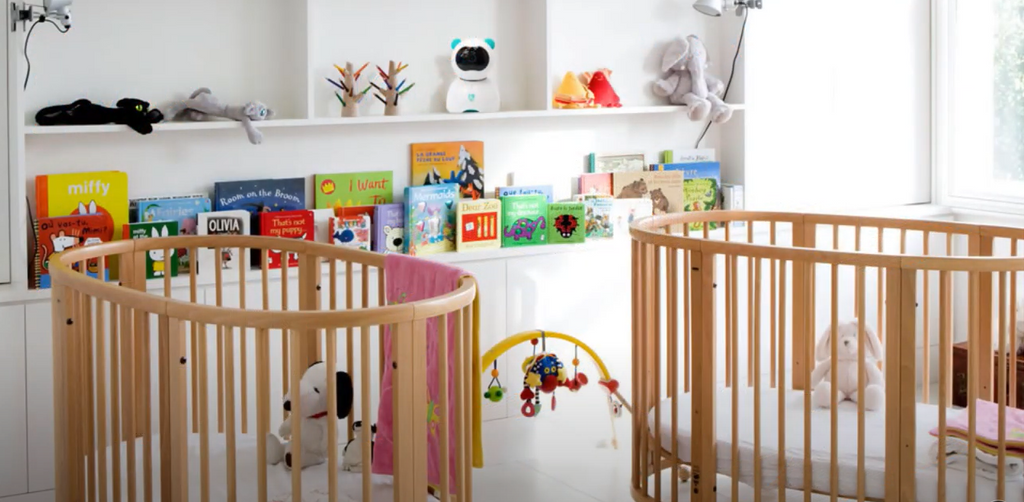
- Children's rooms to ensure that you know what your kids are up to
Step #3: Run the Cables
For those who prefer a cleaner setup, you can simply attach cables on the ceiling or wall surface. Alternatively, you can also drill the holes near each camera mount to where the camera’s cable will feed through. Install your security system properly provides you with a sense of security, as it can detect all sorts of deterrent behavior and you’ll get alerts instantly.
How To Install Wireless Outdoor Security Cameras
Due to the constant development of technology, providing security for your property is getting easier. The wireless security camera is becoming more popular because of its convenience. Some of us don't want to go through the hassle when installing cables or components.
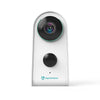
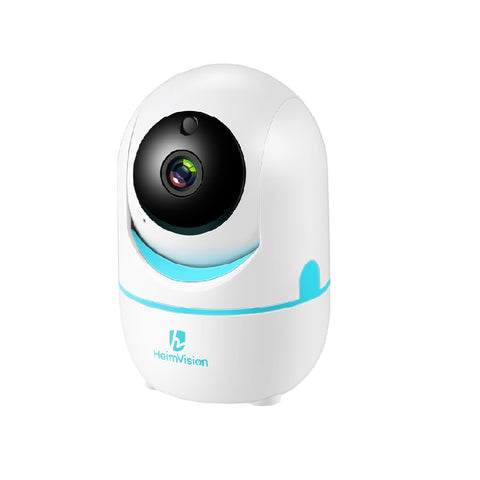
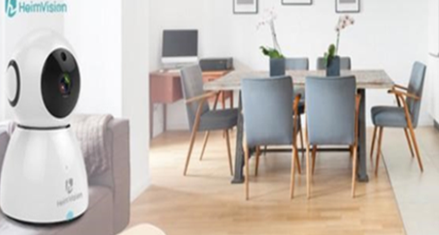
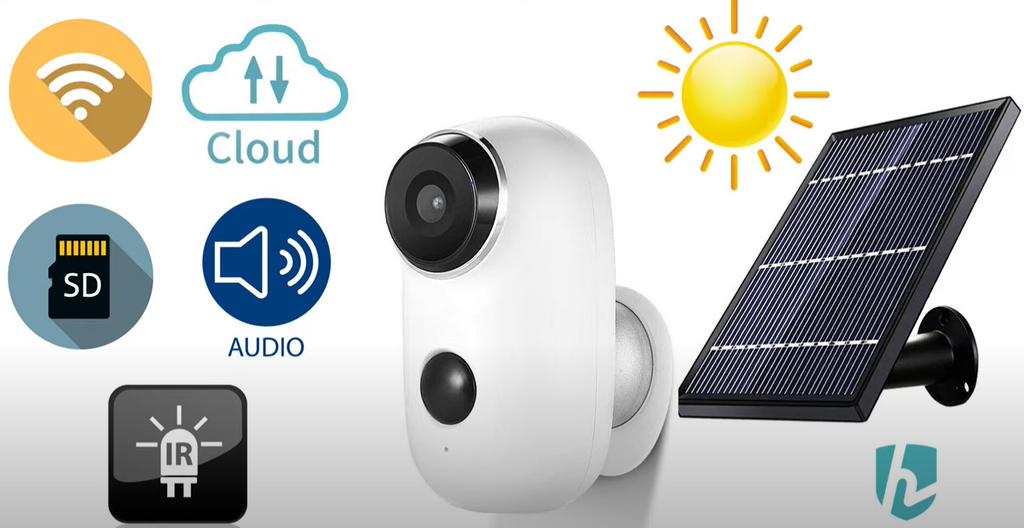
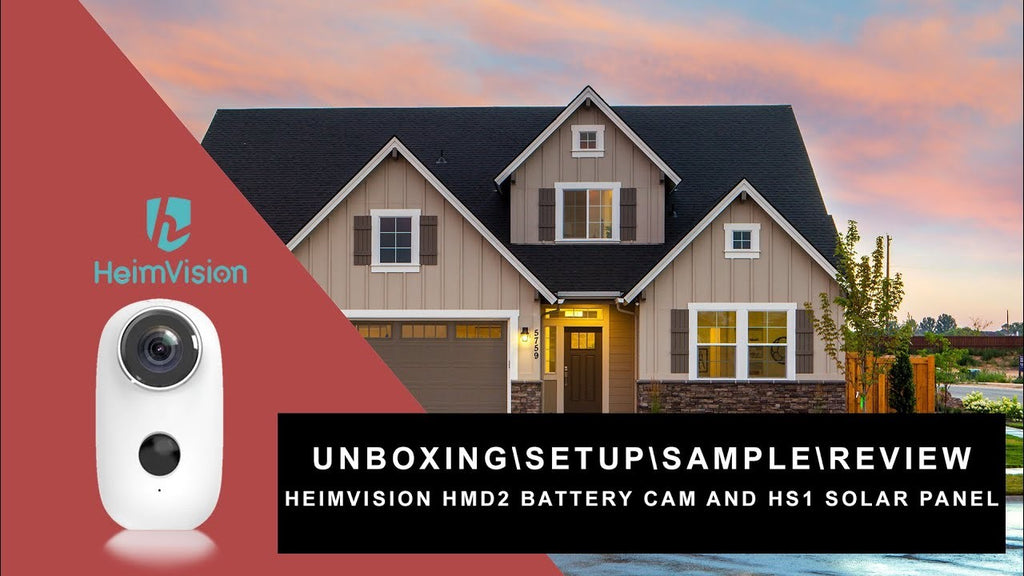
Fortunately, the numerous cordless security cameras variants today have eliminated the problem. The process of installing wireless security cameras will be discussed below, with the HeimVision HMD2 as our reference.

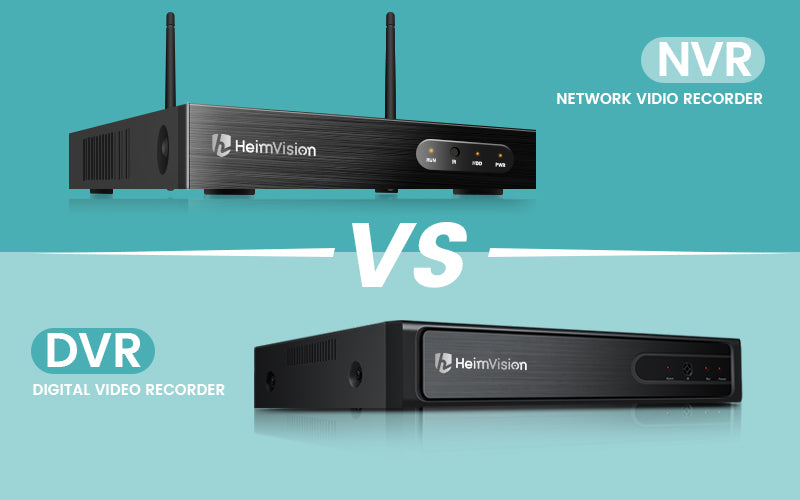
Step #1: Prepare Your NVR
You need to power the NVR first by using the power adapter provided in the kit before making any configurations. After successfully turning on the NVR, you need to connect the display with the VGA cables. With the LAN cables provided, you can connect your IP camera to the corresponding ports on the NVR.
The wireless security camera works by communicating with the system through the internet. Certain protocols are utilized to enable effective communication between numerous devices.
Step #2: Mount the Cameras
Similar to the process of installing wired security cameras, you can start by routing the mounts on your preferred location. However, you can expect a quicker installation since there are a few components only. Once the step is done, we can then proceed to configure your NVR.
Step #3: Configure Your NVR
To make the configuration easier for everyone, NVR comes with a startup wizard. It is highly suggested to enable the network time protocol (NTP) functionality to update automatically.
The wizard will also let multiple accounts have administrator privileges, which is helpful to let other household members maintain the security system as well. You will then be presented with the home screen after completing the wizard, which displays the camera views on the screen. Users can easily toggle between different views by clicking the corresponding button.
Comparison
Now that you have a general understanding of the two different installation processes, you may wonder which one is the overall better option. Both variants can help you enhance the security of your property. However, security systems with no power cord come with a more streamlined installation and can reach places that wired systems cannot access.
From different perspective to say, wireless systems use several sensors throughout your property to allow seamless communication between the control panel and devices. A wireless security camera will also be beneficial if you don't have an existing security system. Both HeimVision HM311 & HMD2 are wireless in this case.
Considering that you don't need to drill holes and run wires, it's not surprising why many homeowners prefer a cordless system. Not only some of us don't have experience working with wires but can this make the process complicated and frustrating.
Property damages may even occur, which can cost you a lot. While you can have your wired system professionally installed, this is not the most cost-effective option. Opting for a wireless security system will save you both money and time in the long run.
Wireless systems also come with a portability advantage. For individuals who need to relocate, they can simply disconnect and reconnect the entire setup at the new destination without hassle. This makes cameras with no power cord ideal for homeowners, renters, and businesses who frequently change locations.
Final Words
Both the HMD2 and HM311 models by HeimVision make excellent choices to provide security for your property. A point to mention is that both HMD2 & HM311 are wireless in terms of signal transmission. The wired HM311 variant will be able to efficiently capture all the details in high resolution, but you are required to install cables which is not an easy task.
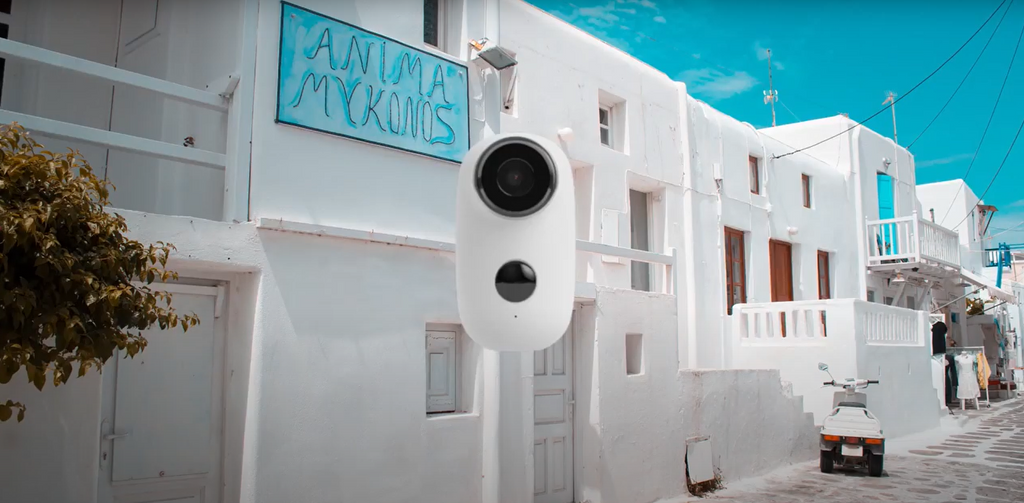
On the other hand, the wireless HMD2 model delivers the same results without installation difficulties. This wire-free outdoor security camera will allow you to set things up in less than 5 minutes. The kit even comes with a magnetic mount that will let you install the camera anywhere you want.
Related Post


Comments (2)
The cloud service of HeimVision starts from 3 months. Normally, it is ok to work under frigid temperatures.
Hello,
I have a few questions about your product. Is there a monthly charge for surveillance? And does it work in occasional frigid temperatures?
Thank you.
Leave a comments